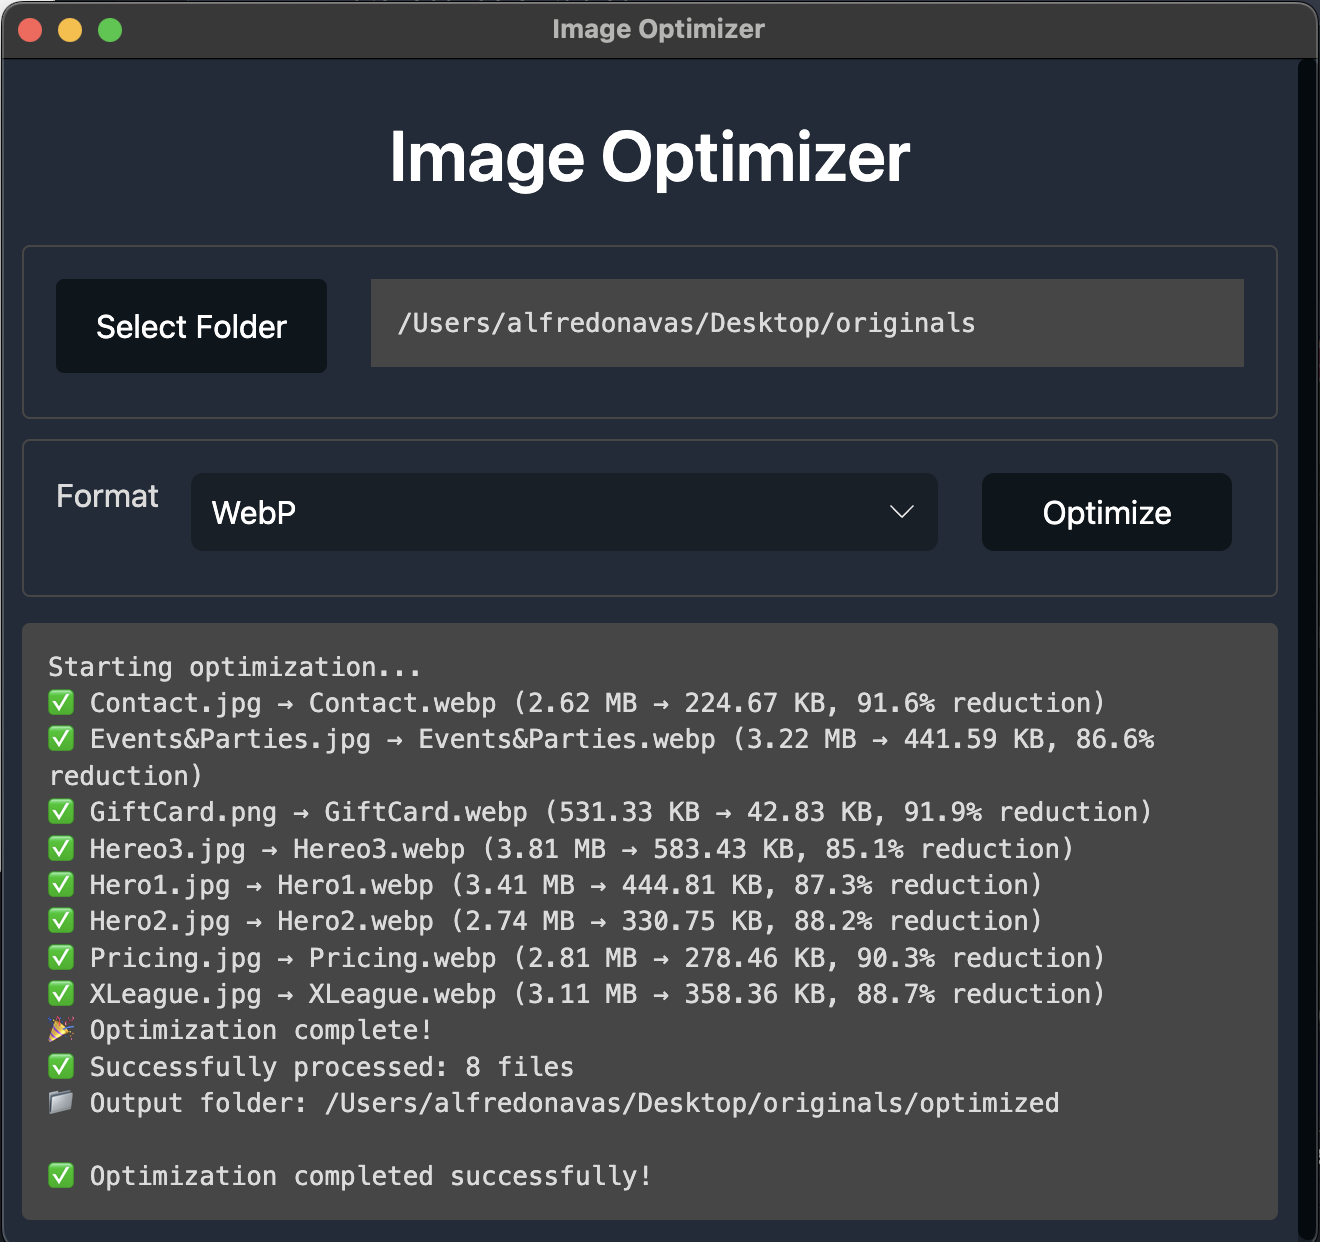
Building My Own Image Optimizer with Electron, Node.js, and Sharp
You might ask, “Why create an image optimizer when so many already exist?” It’s a valid question. For me, this project was about having full control, learning through the process, and keeping things simple.
Why I Decided to Build It
As a developer, I often work with large sets of images during client work. I needed a tool that could optimize assets quickly, directly on my machine, without relying on external services or unnecessary complexity.
Most tools I tried either uploaded images to the cloud, had too many steps, or introduced limits and paywalls. So I built exactly what I needed: a fast, local, and easy-to-use app that optimizes images from any folder.
The Tech Stack
This project uses:
Electron for the desktop interface
Node.js with the sharp module for processing images
Water.css for minimal styling, to keep things lightweight and clean
No extra UI frameworks or build tools: just a folder picker, a format selector, and a run button.
How It Works
The project is structured in a simple, clear way:
image-optimizer-electron/
├── dist/                  # Packaged app output
├── scripts/               # optimize.js (core logic for image processing)
├── renderer/              # index.html and minimal UI code
├── assets/                # App icon and visuals
├── preload.js             # Exposes safe APIs to the renderer
├── main.js                # Electron main process
└── package.json
The core flow looks like this:
The Electron UI loads a folder picker and format selector.
When the user starts the process, the renderer sends a message via ipcMain.
main.jsforks the optimize.js script using Node.js’child_process.fork, passing along the selected folder and desired format.optimize.jsreads the images, processes them with sharp, and writes the optimized versions to an /optimized subfolder.
Example: Forking the Script in main.js
const child = fork(
  scriptPath,
  ['--input', inputPath, '--format', format],
  {
    cwd: workingDir,
    env: {
      ...process.env,
      NODE_ENV: 'production',
      NODE_PATH: nodeModulesPath,
    },
    silent: true,
  }
);
This approach helps the main process stay responsive and handles logs and errors from the script cleanly.
Example: Processing Images in optimize.js
const sharp = require('sharp');

sharp(inputFile)
  .webp({ quality: 80 })
  .toFile(outputFile)
  .then(() => console.log(`✅ ${file} optimized`));
If the output directory doesn’t exist, it gets created on the fly:
const outputPath = path.join(inputPath, 'optimized');
if (!fs.existsSync(outputPath)) {
  fs.mkdirSync(outputPath);
}
Packaging challenges
Packaging this Electron app wasn’t straightforward. The core functionality was simple, but making it work after being bundled required solving tricky issues:
Sharp doesn’t like being bundled inside app.asar, so it needs to stay in
app.asar.unpacked.Electron changes how paths and modules resolve once packaged, meaning require('sharp') could fail silently.
We had to resolve module paths dynamically and use fs.existsSync() to try several alternatives.
We logged everything (script paths, node_modules, cwd) to debug path issues.
This led to a robust solution that works both in development and in production. And now, anyone can optimize images with a double-click.

What I learned
Even something that sounds simple, like converting images to WebP, becomes more complex when you package it and expect it to work on any Mac. I learned a few key things:
Electron apps require extra care when working with native modules such as Sharp
Paths and modules behave differently once the app is packaged with electron-builder
Real-time logs and clear debugging are crucial when things fail without obvious errors
Most importantly, having the right tools and support (including AI agents) can turn frustration into progress
This project became a tool I use daily, and I hope it proves useful for others as well.
Try it yourself
The app is open source and available on GitHub. You can explore the code, suggest improvements, or use it as a base for your own Electron experiments.
🔗 https://github.com/elpuas/image-optimizer-electron
If you liked this post, share it — and happy coding!
Give and Share
Enjoyed this article? Share it with your friends and colleagues!


